Blind contort drawing
To draw a subject by not looking at the marks being made on the surface but by only looking at the subject. It is hard not to look at what you are drawing but if you want to practise this technique, I recommend that you put a barrier in place so that the drawing cannot be seen as you are creating. Move the pencil on the surface as a continuous line without taking it off the surface. This is an interesting technique which relies on observation and muscle memory for the drawing. It is not designed for precise observation but for fun to create interesting marks and shapes.
Burnishing
A blending technique in which a colourless blender or a light-coloured pencil is applied firmly to an already layered drawing. This produces a shiny surface of blended colours that gets deep into the grain of the paper.
Contour drawing
also known as continuous line drawing as a continuous line is used to concentrate on the contours of the objects; starting from one end and without lifting the pencils follow the contour lines. This helps to learn to look at the subject and draw what is there rather than what we think we can see.
Cross-hatching
Tonal areas can be built up using this technique – a web of lines is hatched and cross-hatched to produce the desired depth.
Gauging proportions
Have you ever seen someone with a pencil in their hand outstretched squinting at an object? The reason for this is that they are using a type of measuring technique. Using the tip of the pencil and the thumb you can judge the proportions of the object and transfer them to the drawing. The arm must be fully outstretched and not bent to give an accurate measurement. This technique can also be used to judge the angles of a subject.
Graduated shading
Varying pressure from hard to light gradually and decreasing or increasing the intensity of tone layering. Apply one layer over another to achieve various colour effects like a smooth blended finish
Lines
A sharp pencil can create fine lines. By turning the pencil on its side, you can create the thickest of lines. Always look for basic shapes in your subject before drawing
Sketch
This is done rapidly and in freehand. It is not usually intended to be the finished drawing. It is used to record ideas for later use.
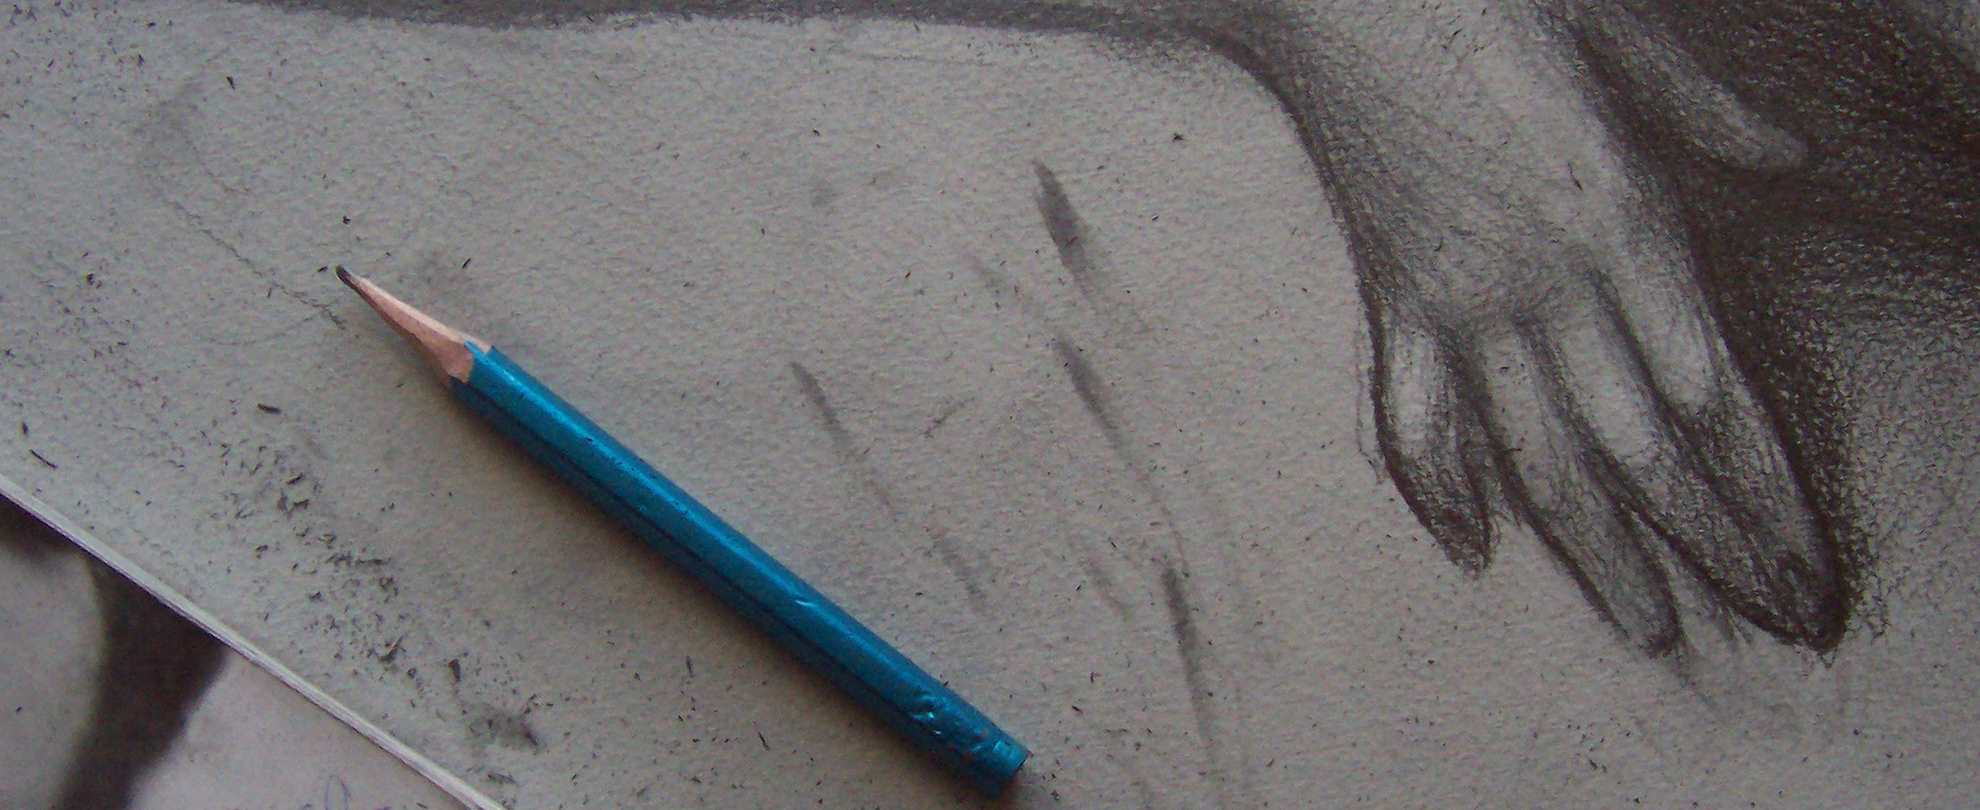
Shading
A pencil will have a range of ‘tones’ by using the pencil softly and increasing pressure you can achieve a good variety of shades.
Value sketching
This is where you concentrate on the degrees of light areas first before concentrating on the mid-tones and finishing with the darkest tones. To highlight areas, use a putty rubber to eraser the areas. To make a light area appear even lighter, add a darker background around the area; this helps to add greater tonal value to the image. I recommend that you start with identifying the lightest tones.