
Before you begin applying your varnish...
1. Make sure it's dry first. Ensure the painting is fully dried and cured before applying a varnish. This may take a number of weeks depending on the thickness of the paint application.
2. Test before you apply. Though many varnishes are designed to be removable for cleaning and conservation, this is not a task to be taken lightly and may require professional skills. It is important to always test and practice before applying to the final painting.
3. Ventilation. Varnish in a well-ventilated area.
4. Using an Isolation Coat. Though it is not necessary to apply a permanent, non-removable layer referred to as an isolation coat before using a varnish, it is recommended. This consists of a coat of clear gloss acrylic medium or dedicated Isolation Medium evenly applied over the entire surface before a final varnish.
An Isolation Coat creates a barrier between the acrylic painting surface and the final varnish. It becomes more necessary in the future, as acrylic paint can be affected by the solvent used when removing a varnish for cleaning or conservation.
A dry finished acrylic paint will offer a tough waterproof surface but there may still be absorbent areas that allow the varnish to soak in, creating an uneven finish.
The Isolation coat will create an even nonporous, stable, glass like surface and even sheen before the final varnish. This helps prevent the varnish from sinking into any porous areas of the painting creating a dull uneven finish. It can help to prevent a cloudy or frosted effect when using a matte varnish over the absorbent surface.
An isolation coat must be done with a gloss medium. When it is dry you can then the final varnish of either Matte, Satin or Gloss Varnish will always supersede the glossy isolation coat finish.
5. Photograph your painting. Because varnishing may cause the surface of your painting to be more reflective, you may want to photograph your work before you varnish.
Ready to apply your chosen varnish...
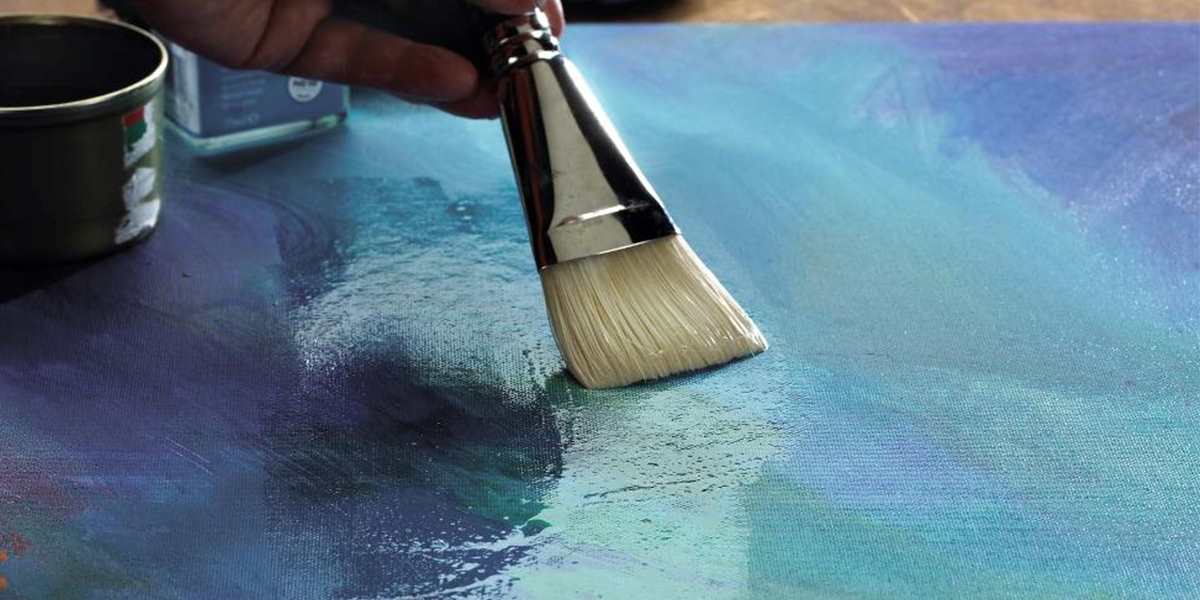
6. Applying a varnish. Use a big brush to reduce the number of brushstrokes for a more even finish. A large flat decorators brush can be useful. Thin layers are important. Allowing each layer to dry before applying the next one.
7. Spray varnishing. When using a spray varnish start by spraying off to the side before bringing the spray over the painting in a smooth even action and continue off the other side of the painting. By starting to spray as any larger droplets which can occur at the start of the spraying process are not on the painting.
8. Outdoor display UV protection and complete waterproofing. Varnish not only the front of the work but the back and sides as well to offer complete protection.
It is best to take the suppliers advice as to whether the varnish says suitable for outdoor use. Varnishes will specify whether for outdoor or interior works or both.

How to varnish your artwork